
Author: Serhii Manko
How to disassemble Vaporesso Xros 4 Nano: A look inside the pod
The latest model from Vaporesso has impressed fans with its looks, quality, and compactness. The previous version, the Vaporesso Xros 3 Nano, did not gain popularity, making the Vaporesso Xros 4 Nano somewhat unique. Why is it unique? It all comes down to taste: customers tend to prefer standard-shaped pods over square ones. While this is a matter of personal preference, the fact remains that square pods are rarely chosen by buyers, and those who do purchase them often exchange them due to dissatisfaction with the shape.
Form and specifications of Vaporesso Xros 4 Nano
Disregarding the shape and focusing on the specifications and functionality, the Vaporesso Xros 4 Nano is a great and reliable model. Thanks to its square body, the manufacturer was able to fit a 1350 mAh battery, compared to the 1000 mAh batteries found in traditional models like the Vaporesso Xros 3 Mini, Xros 4 Mini, and Xros 4. While the pod system is square, it feels compact in both hand and pocket. Note that it appears larger in photos than it actually is. For example, you could fit 2-3 of these pods in the palm of your hand.
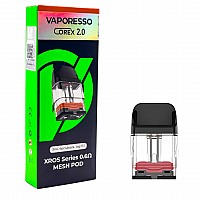
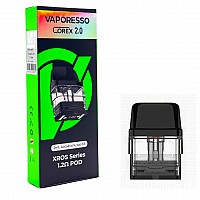
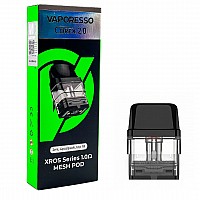
Being part of the Xros lineup, this model supports all cartridge types in the series. It is widely known that the updated Vaporesso Xros Corex 2.0 cartridges offer improved flavor delivery and a longer lifespan. Buyers also appreciate the 2ml and 3ml options.


Materials and construction
The body of the Vaporesso Xros 4 Nano is made of plastic and metal. The front and back panels are plastic, which means the pod’s premium look may diminish over time. The design is enhanced by a metal frame that holds all the pod’s components together, adding just enough weight to prevent it from feeling cheap in hand.
How to disassemble the Vaporesso Xros 4 Nano pod
Necessary tools
To properly disassemble the pod system, you’ll need a set of screwdrivers and a plastic card.
Disassembly process
Begin by removing the front plastic panel. It’s important to start from the front, not the back. Insert the screwdriver under the right corner of the front panel—this is because the left side is secured with double-sided tape. The bottom features plastic clips, so start from the right corner. Once you lift the right front panel, insert a plastic card into the opening and slide it along the perimeter. This allows you to remove the front plastic panel from the pod system.

After removing the front panel, you will see three black screws securing the board, which need to be unscrewed.

Without removing the board, unscrew two light-colored screws. These hold the rear plastic panel and clips together. By removing both panels, you gain full access to the pod system’s board.

Build quality and components
The pod system is well-made. Notably, the “Fire” button is protected by a silicone cover. In previous versions, liquid could get into the button. This issue has been addressed in this version. The pod’s draw sensor is a standard, budget-friendly one, while most of the board is occupied by the screen.
Our evaluation
We rate the build quality and components 3+ out of 5. In our opinion, this pod is overpriced; its actual value is around 700–800 UAH.


